Google Fonts
Tagging process
nerd Making a PR to Google Fonts
Table of contents
How do Tags work?
Users can now select tags from various filter categories, which are grouped into main sections:
- Feeling
- Appearance
- Calligraphy
- Serif
- Sans Serif
- Technology
- Seasonal
The chosen categories and the number of fonts matching these criteria are displayed at the top of the selection panel.

The process
Tagging a new font takes place when the pull request (PR) for that font is ready in the Google Fonts repository, similar to designer profile submissions. Typically, each font receives between 2 and 6 tags, ensuring a variety of tag types. Each font should have at least one or two tags related to appearance or feeling, along with a tag for structural elements such as serifs.
After selecting a tag (e.g., Cute), a percentage value must be assigned to rank the font relative to others in the same category. GF Tagger provides a list of fonts associated with each tag, allowing for accurate comparison and value assignment.
How to define tags for a new font?
- Open GF Tagger, and keep the font visible to reference its design.
- In
Add Family, add the name of the new font family you are tagging. - Select a tag that best describes the font and assign a value next to the font family name. Once added, the tag will appear in the
Historysection. Repeat this step for each necessary tag.
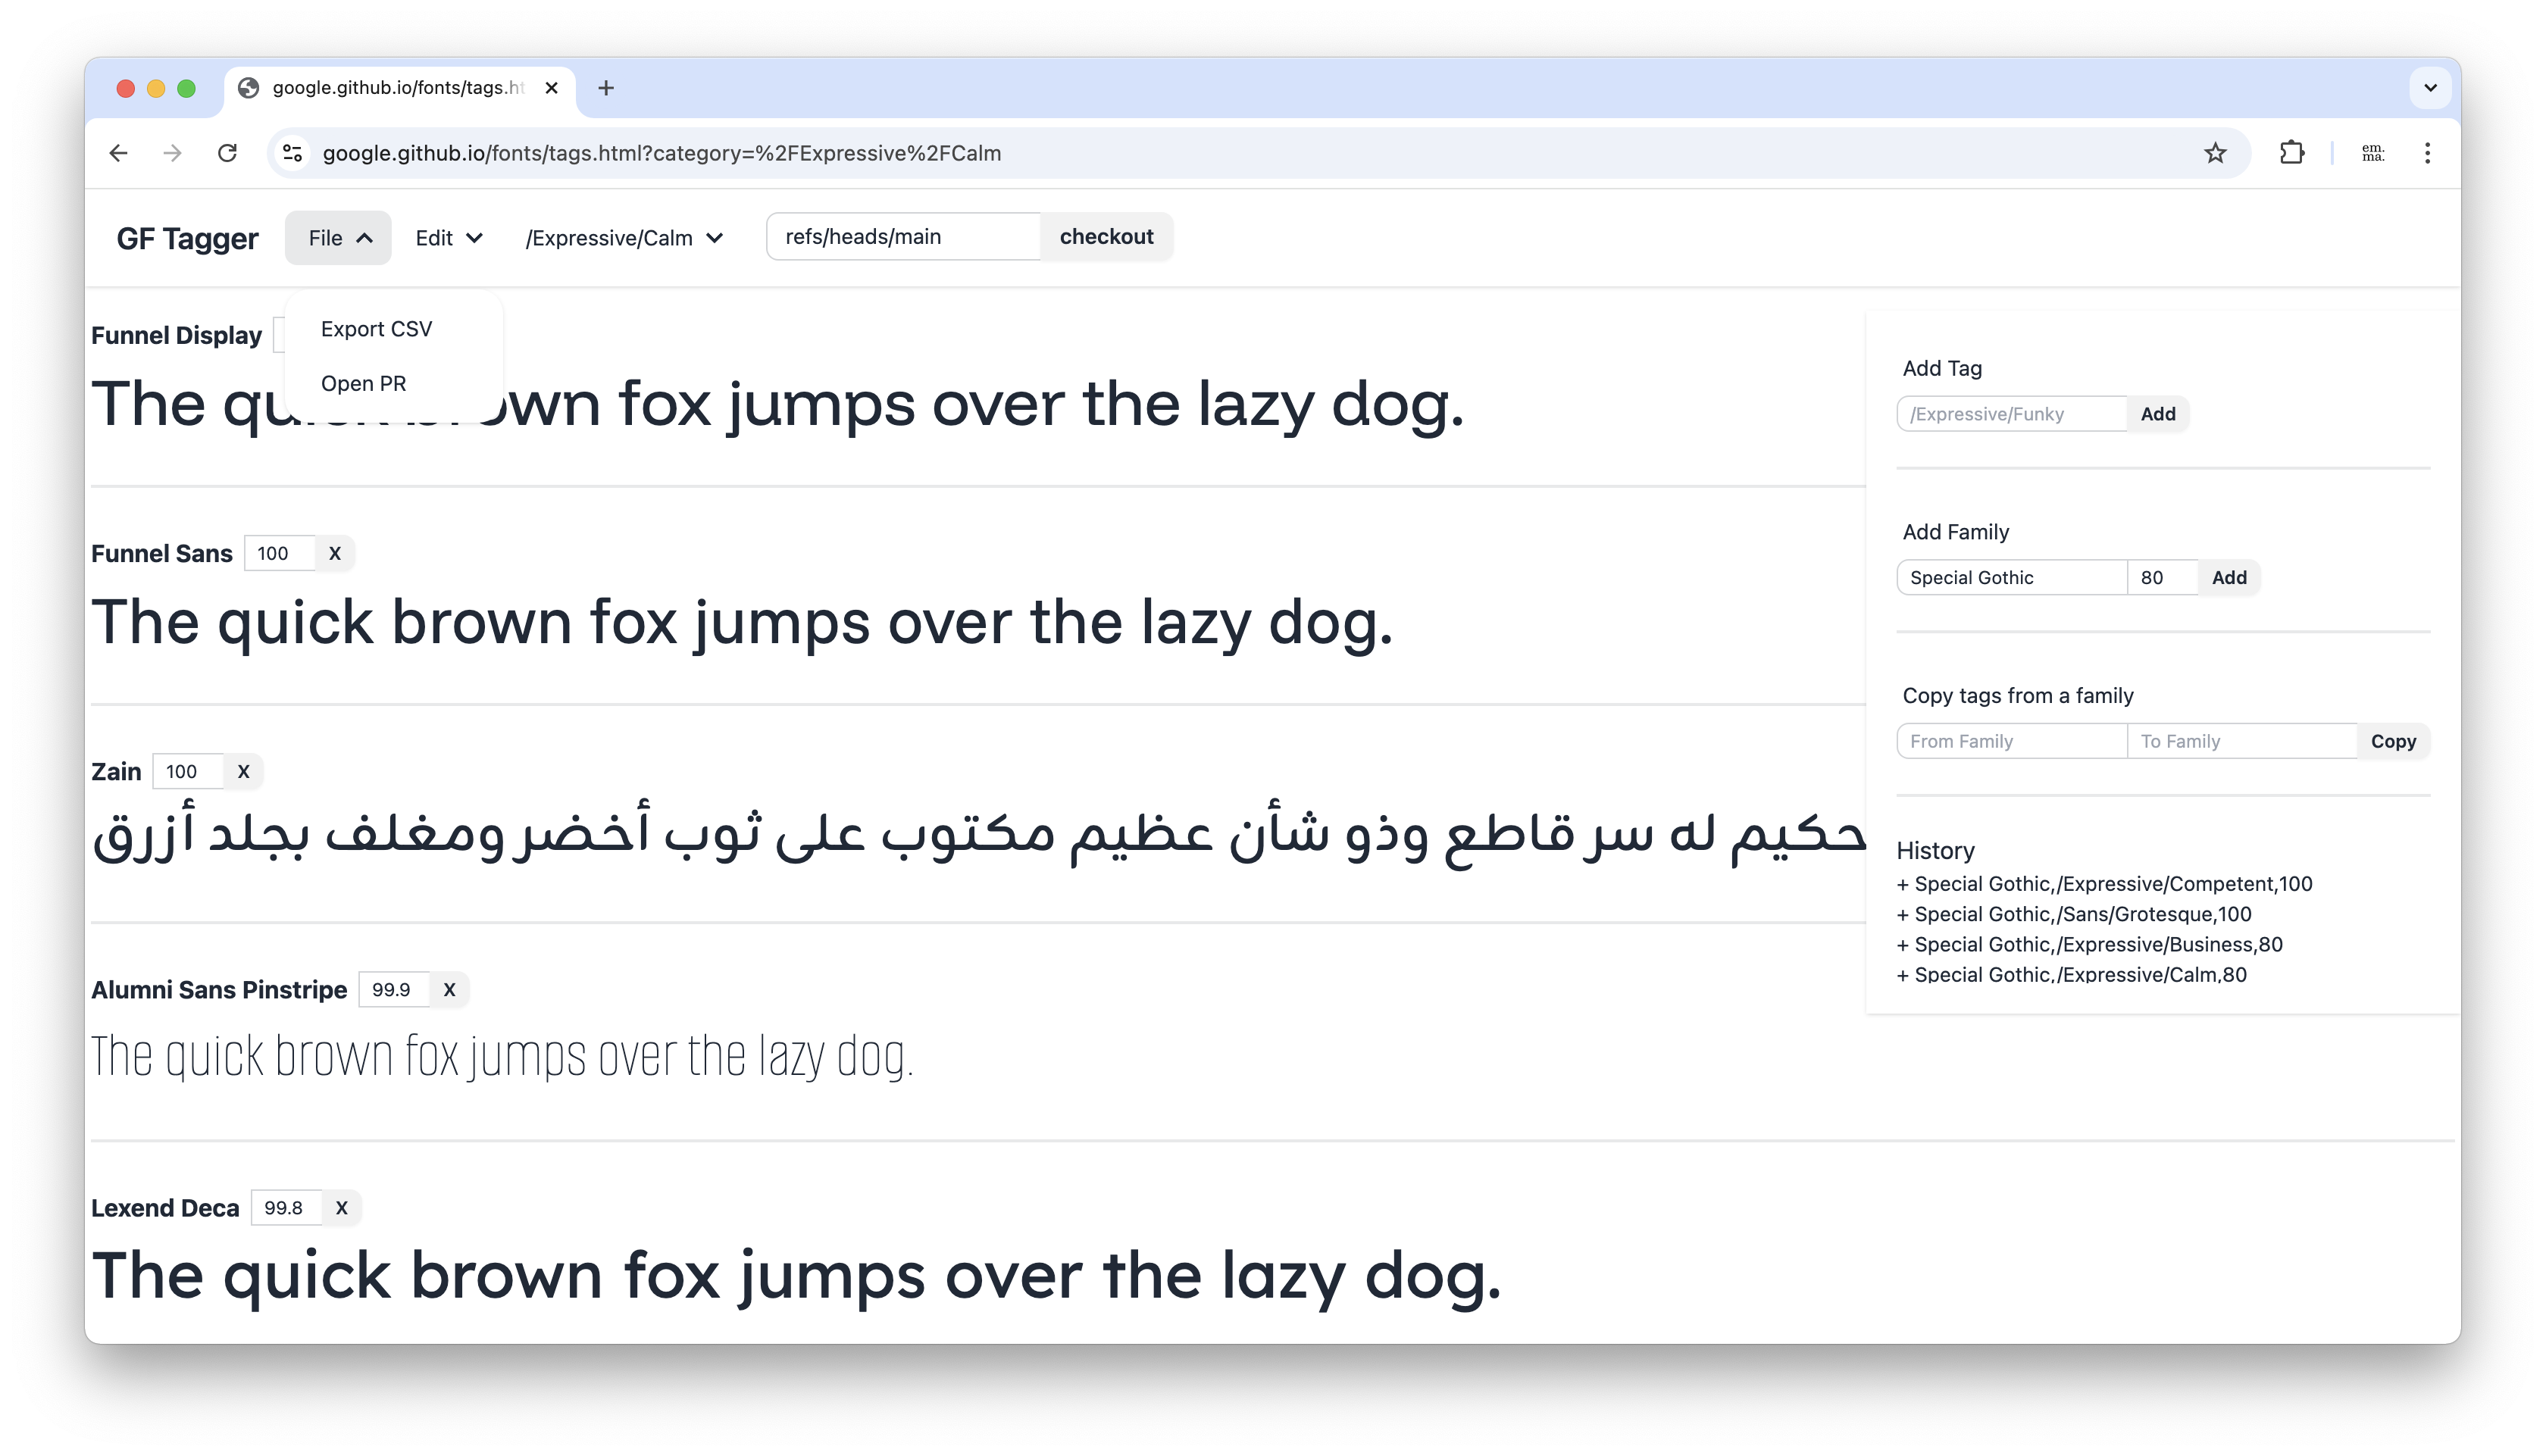
- In GF Tagger, click on
Open PR, delete all previous entries, and paste the new data. The updated CSV data is automatically copied to your clipboard.
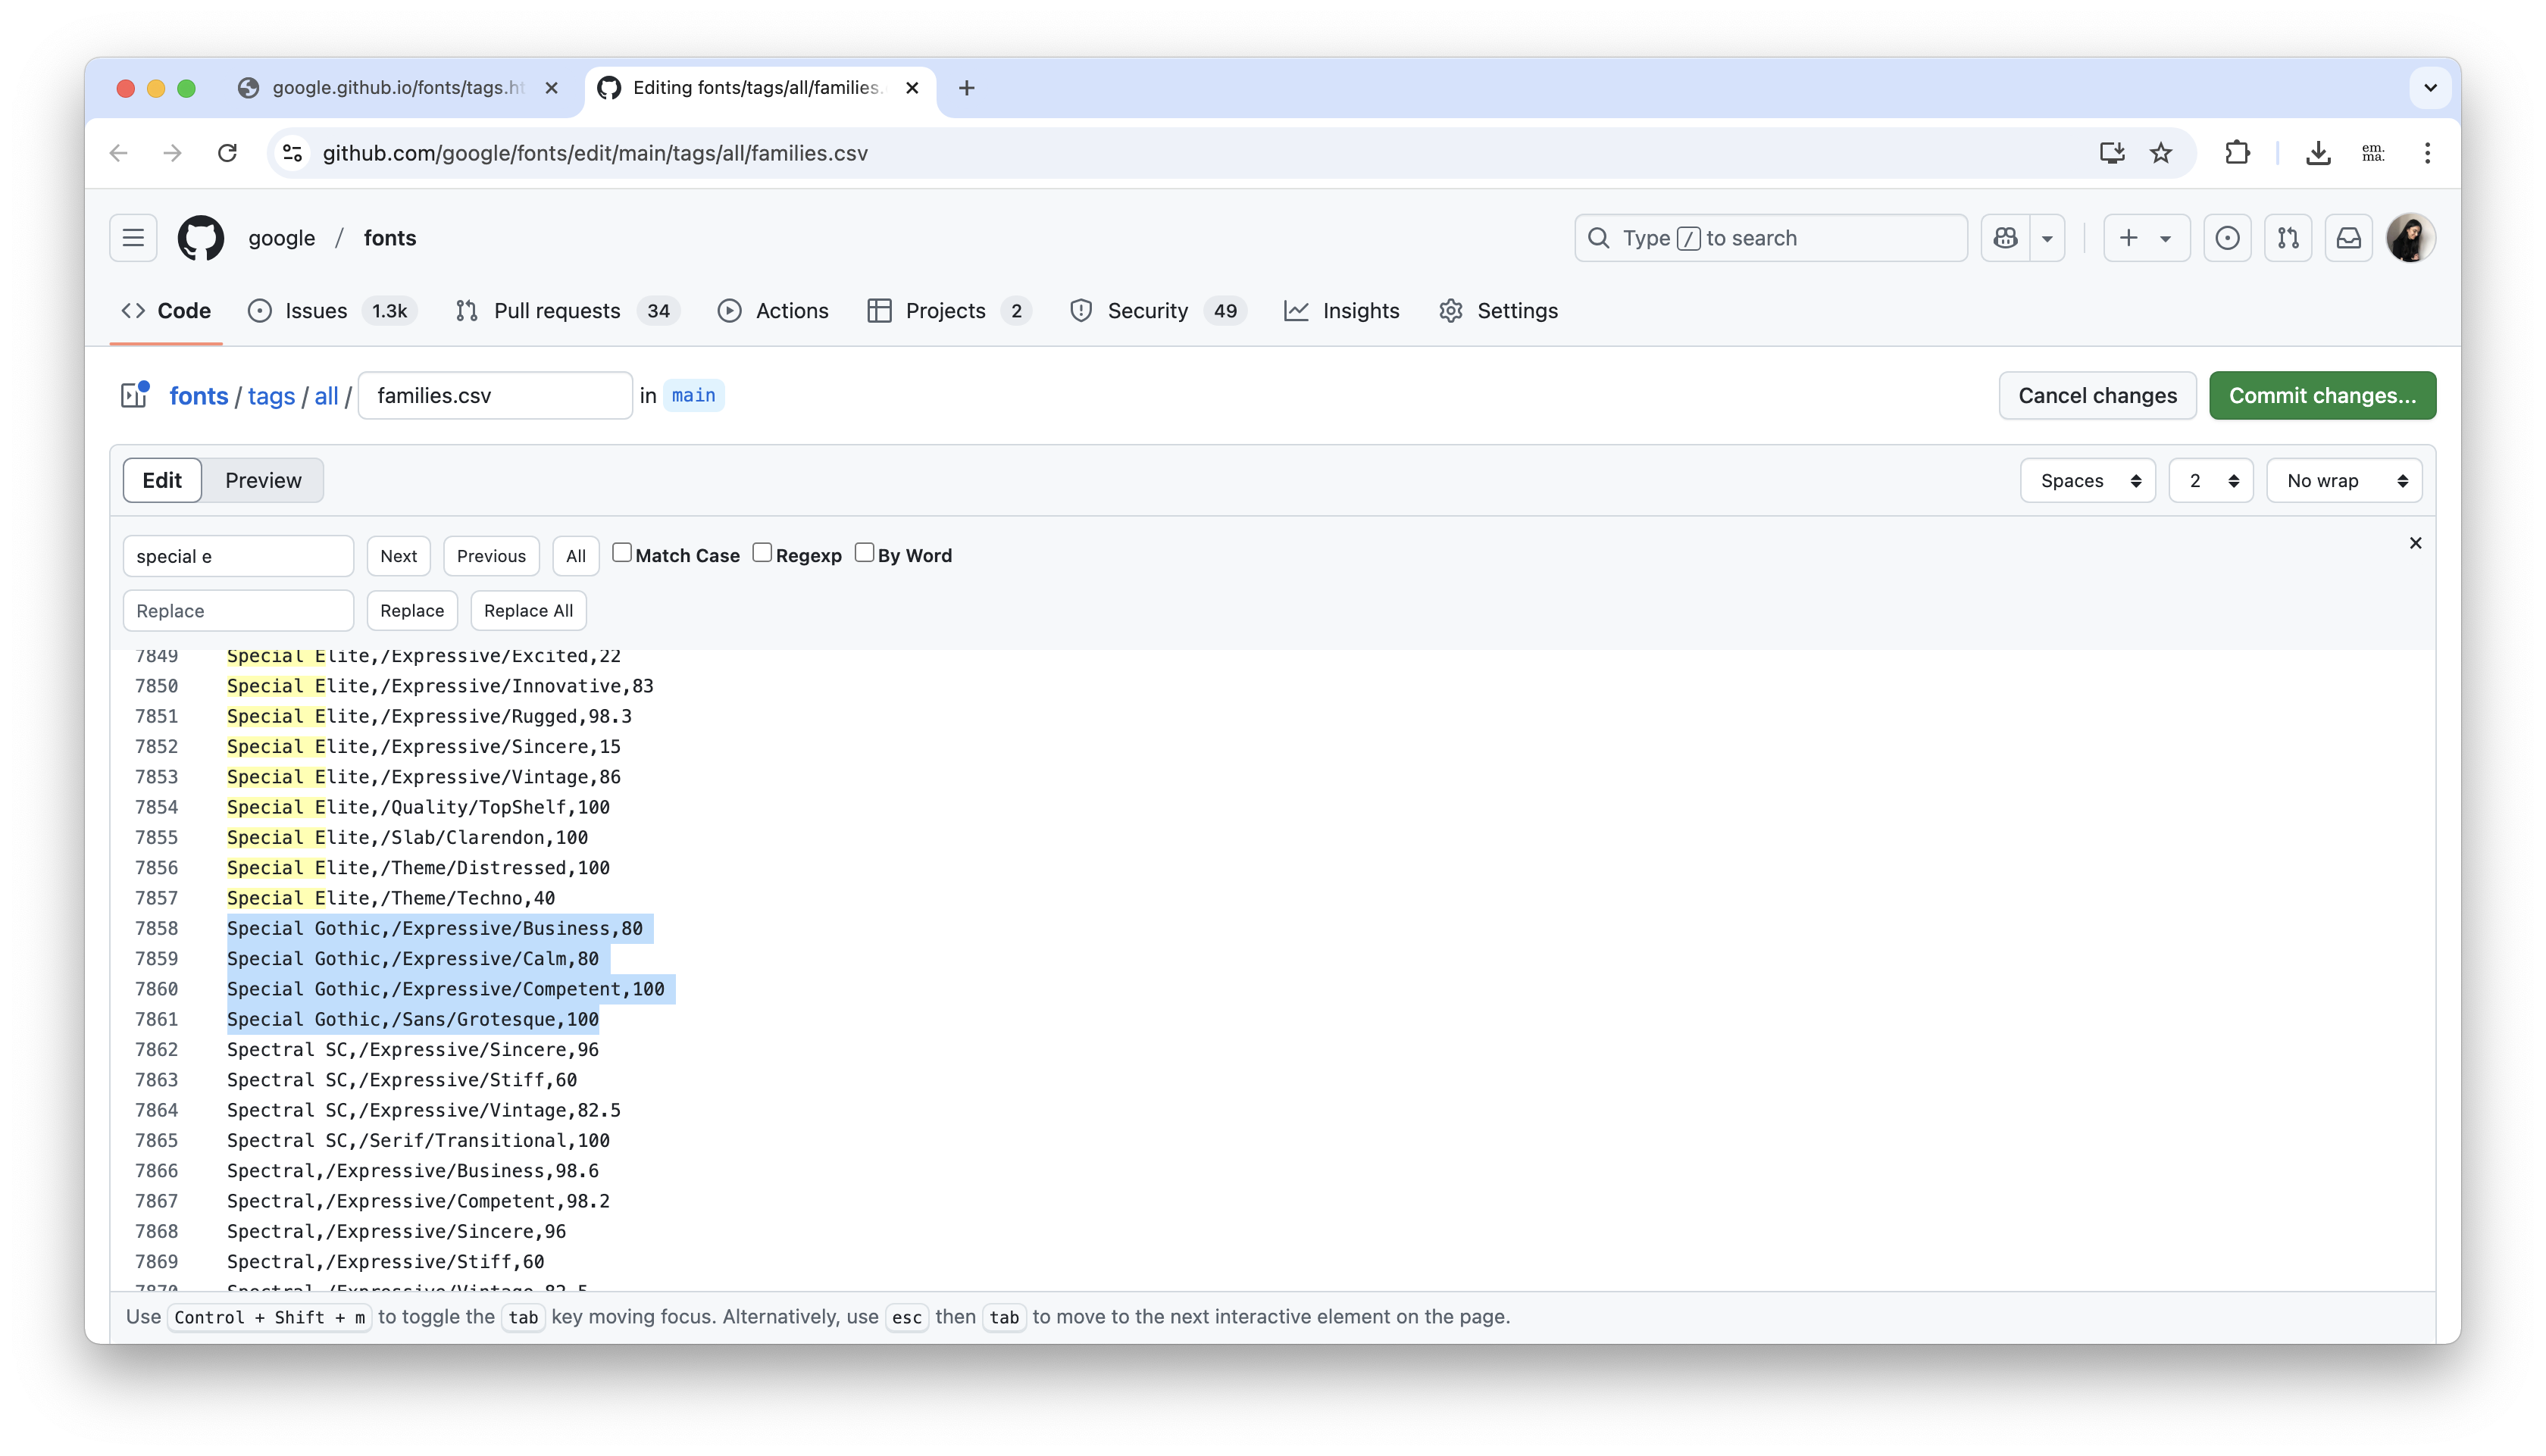
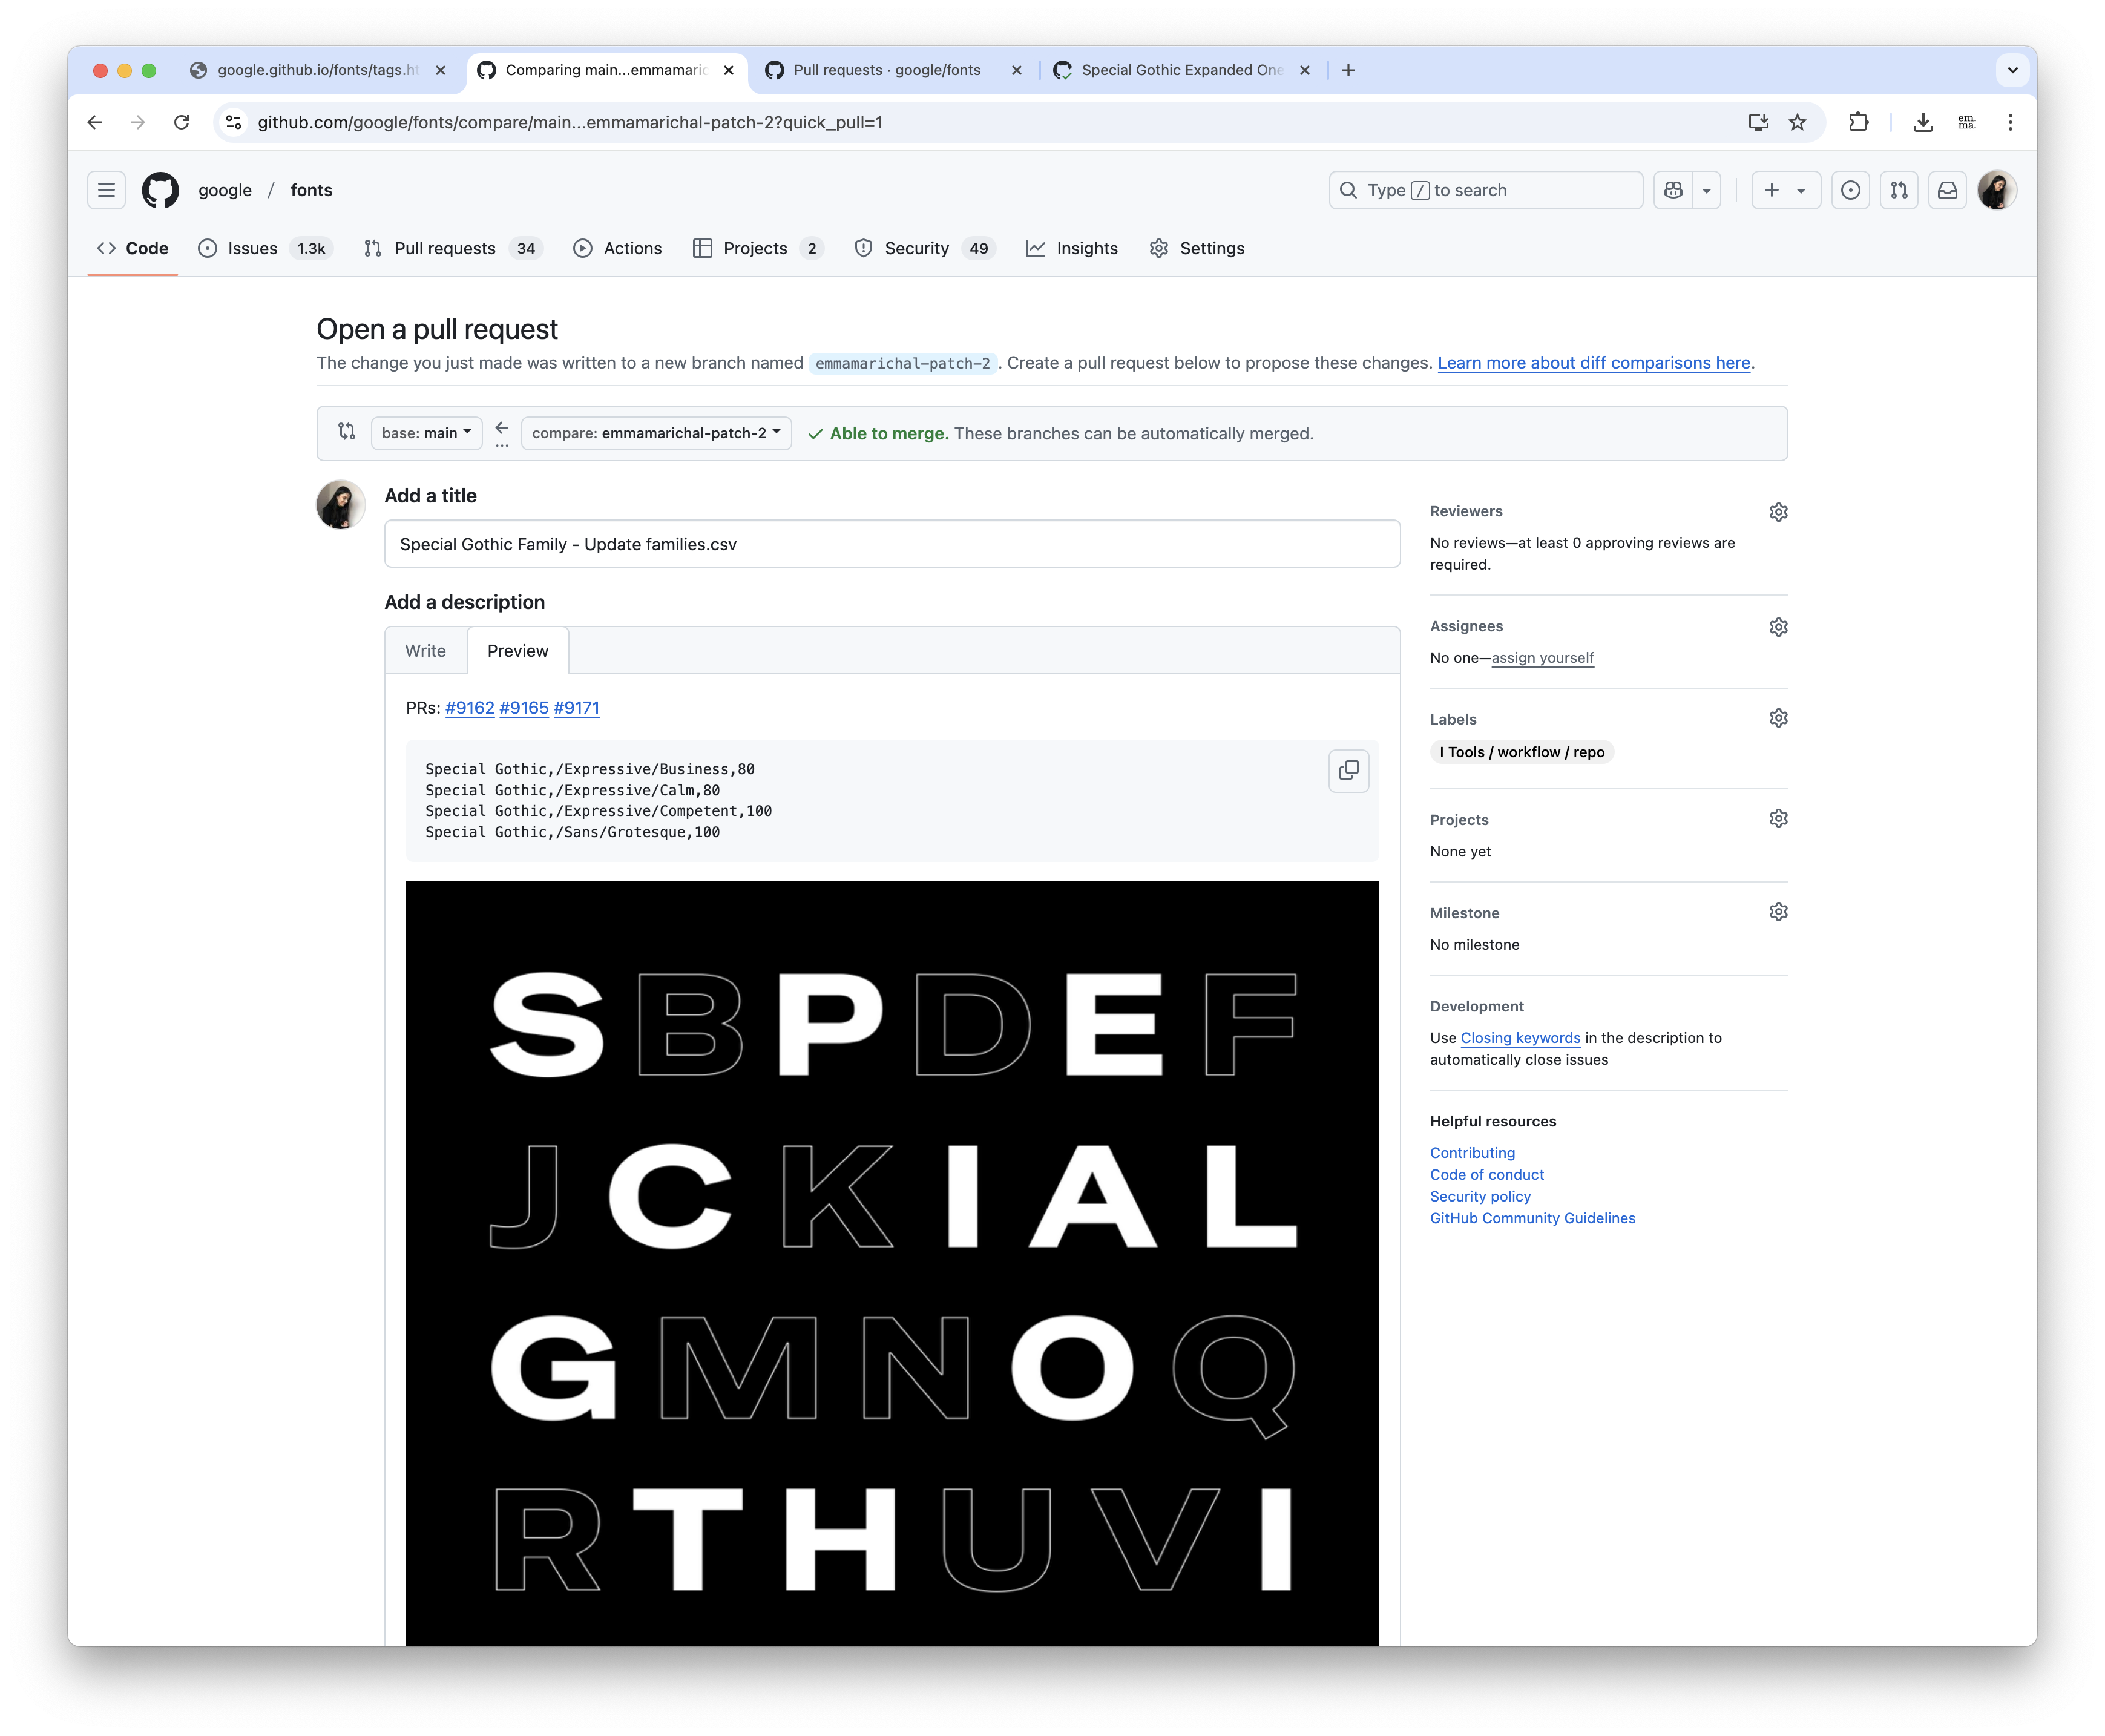
- Commit your changes and open a pull request. Make sure to include relevant details for the reviewer, such as the corresponding font PR, an image of the font, and any other useful information.
Collection-Wide Tagging
Onboarders may be asked to add and populate a new tag category. This involves reviewing each family to determine if it fits the new category and creating a tag if applicable.
How to Create and Populate a New Category?
-
In
Add Tag, enter the new tag name, which should include both the category and subcategory, starting with a/(e.g.,/Expressive/Funky), then click theAddbutton. -
Click
Edit > Insert Placeholder Tags. A placeholder tag will appear for each family in the collection. -
Review each placeholder tag and either delete irrelevant ones or assign a percentage score.
To speed up the process, use the up/down arrow keys to navigate between tags or press “!/@” to blur inactive tags (Zen mode). Press “Esc” to exit Zen mode.
-
Once tagging is complete, remove placeholder tags by clicking
Edit > Remove Placeholder Tags. -
Open a PR as described in Step 4 of the previous section.